Friday, December 26, 2014

christmans Gift for the men in the family

I had gotten some 11x17 white cardstock and had not used them at all. I wanted to make a card for my DH, Father in law and brother in law that had all the kids pics and a picture of all three of them that they could display on their shelf or something with a message from the kids so I thought a zig zag card would be great so I folded the paper into half so it was 8 1/2 x11 (on the folded side) and then cut it in half at 5 1/2 to make a regular A2 size but folded twice card.

I designed the front with a layer of Glimmer paper- the older silver version which is now between the current white and silver-  No matter what I use, they are all SO PRETTY!   I put down a piece of All is Calm DSP to fit behind the framelit piece, put a tiny piece of silver 1/8" ribbon before I attached a photoframe diecut with the On Film framelet.  I embossed the ornament on Shimmer CS using Silver EP and Versamark and used dimensionals to attached the ornament.  Very easy and classy looking cover to my card.
This is what the card will look on a desk with their little messages to the viewer.  Enjoy!
Lynda


Thursday, December 25, 2014

Merry Christmas!


 This is the Christmas pop-up box that I sent out this year.  I started with the box forms that I cut and scored during a trip. I made the tabs for the middle of the box and stamped the sentiment and colored it in during another trip with my new Blenderabilities that I had gotten.  I then stamped and punched all the trees and punched them out.  I knew I wanted to do a hanging ornament and I tried strings, ribbons then with diecuts and it was all too much and then I got the 25 Days set from the Holiday Catalog and at real size the ornament topper (day 11) was perfect size so I cut it and stamped it using versamark and embossed it using silver EP.  I used the Small scallop Stamping Trimmer rotary cutting blade to cut a strip of red glimmer paper and used 1/2 inch circle punch to punch out the ornament and voila!  2 inches by 1/2 inch strips of white glimmer paper to imitate box ribbons.  I was pulling my hair out putting snail individually until I realized how easy it was to use transfer adhesive sheets!  I used less than 2 sheets to adhere all the strips for 98 cards so bargain to boot.
 The thing that took the longest was trying to get a decent picture of the kids- I finally ended up having to bride them and the whole time Dylan was asking- why do you want me to hold this stupid red paper for? when I asked him to pose this way- he finally got it when he saw the card all assembled...  Cutting them out took a lot of watching of Masterpiece Mysteries then rewinding a lot because I couldn't pay attention and cut out the darn fingers on Tyler- Next time, keep the fingers together!

The backside has our only reasonable family picture I could find.  Notice the little red bag on my side- it was our cute little bag from convention!  It was the perfect little travel bag holding my phone, camera, ID a little money and the room key with a map! That bag  has gone everywhere.  Thank You Stampin' Up and
Happy Holidays Everyone!  Lynda

Tuesday, December 23, 2014

Christmas Cafe Gift bag

 One of the projects for December at my Tags, Bags, and Boxes class.  I took the Petite Cafe Gift Bags, stamped the snowflake and Very Merry from the December Wonder -Project Life set in red and Pear Pizazz onto whisper white and the bag as shown and punch out the sentiment and snowflake using the Circle and Artisan Label punch and mount on a strip of Under the Tree specialty DSP . Tie the Cherry Cobbler Bakers twine and tie a knot and leave ends uneven and long.  Take a strip of typeset paper- it's a little thinner so works beautifully - I think I used 2 high x 3 wide piece and used the Fringe scissors then used a swipe of snail across the top - rolled it around the end of the baker's twice and an easy peasy tassels. 

I wante to attach the whole thing to the bag then wrapped the twine but then it would have shut it closed.  so I taped a piece of doily across the top of the opening and stapled the banner onto the handle of the bag so that it would flip up to open- I hope it makes sense- anyhow- enjoy!

 Lynda


Saturday, December 20, 2014

Tags, Bags and boxes - Tags

My 'Tags, Bags, and Boxes' workshop usually has tags that I want people make however they want to have it- so I left out a bunch of DSP, punches and papers and make some samples for people to try.

These were some of my samples.  The Cherry Cobbler tag was stamped with Dotty Angles in versamark and embossed with White EP then Endless wishes on the white banner tag.  The Ornament tag was stamped with the ornament from Ornamental Pine in Soft Suede then used a 1 3/4 inch circle punch to punch out the circle part- put a 1 7/8 inch square piece of DSP behind it, stamped the sentiment and put another 2" piece of paper behind it.  You can also punch the other side using the template from the front piece to match the hole, stamp the hanging - dilly-bobber- not sure what the real name is- and sandwich the DSP to make a double sided ornament tag- too cool.

Season's Greeting is the easiest of them all but still so classic- snowflake in Soft Sky and Season's Greeting from Watercolor Winter Too set in Real red.  You know I bought the scalloped tag topper first and debated about the Angled tag topper but once I used it I was hooked.  Yeah, yeah, you can cut the angles your self and the hole in the center- but it is done perfectly everytime with just one push of the handle- How many ways can I tell you how much I love Stampin' Up punches? 
I had some leftover trees from my Christmas tree so I made some tags using the trees.  The star on top is from the Confetti Stars punch using the silver glimmer paper.  I believe Margery thought of that one and of course we all had to copy.

Make a bunch of tags for those holiday gifts- I always need more than I think so good to be prepared!


Lynda

Friday, November 21, 2014

Endless Wishes Holiday notecard


This was one of my make and takes this month using the notecards and envelopes.  It comes 20 to a pack with prescored and cut card with matching envelope for 5.95. No preparing needed- love it!

I was trying to put the washi tape on the bottom but could not get it straight at the bottom edge so I just put it down and folded over the edge which was just fine. 

Took All is Calm Specialty DSP 2 inch strips and punched just the tops of the Tree punch, flipping it back and forth to minimize paper wastage.  You need 3 pieces to make one tree.  Score each into half vertically and put tape on the side you want to hide and tape the sides together to make a 3d shape tree (it can fold flat for mailing)  Add a strip of Sahara Sand  for the trunk of the tree. 
Stamp the snowflake using Sahara Sand but stamp off first to get a more faint image then the "celebrate the" using full strength ink.  "Season" is stamped with Soft Sky.

Don't forget to decorate the envelope!

You can easily rip out a dozen of these in no time for your holiday needs...... Any holiday DSP with ink to match.

Enjoy,   Lynda

Wednesday, November 19, 2014

Holiday Wondrous Wreath Door


 My front door is white with little panels in it just like this.  I wanted to hang a wreath on it in traditional colors so here is my card.  Base of whisper white with four panels that has a little line scored on it 1/8 inch in on all four sides using the score board to make it look more like a panel door.   Handle is just an antique brad.  The wreath is stamped in Old Olive, stamped off for base, straight on for the accent piece with real red berries.  The ribbon in Real red and diecut and placed with dimensionals.

stamp sentiment on the inside.  Really CAS (clean and simple) and LOVE IT! 

Monday, November 17, 2014

Wondrous Wreath Fall Bottle topper

 The bottle label uses a piece of paper 8 1/2 x 3 inches.  Score 2 3/4 inch from the top and punch extra large oval from the side to make hole for the bottletop.

Emboss the bottom part of the bottle topper with the woodgrain to make the base.

The wreath part is really fun and I learned it at my upline Tami's gathering.  Take a piece of paper towel (get one with as little texture as possible) and put it on a nonporous surface.  I used a little tray but any flat surface will work-  put little drops of refills in a ring shape to create your own custom inkpad - I used daffodil delight, pumpkin pie, old olive, Blackberry bliss.  Ink the base wreath and stamp on Whisper white CS.  (The pad can get muddy so stamp quick)  Stamp the berry in Real Red then diecut with the matching framelit dies.
 Diecut the ribbon in Champagne Glimmer paper.  Mount the wreath and ribbon with dimensionals.
stamp Give Thanks from Holiday Invitation set. It is one long word but I cut it to stack it.  Stamp it in Pumpkin Pie and secure with staples.  Color the staples with Pumpkin Pie blenderability.

Hang on a bottle- wine, champagne, Olive Oil or whatever you are giving away!

Make the base red with Celebrate as sentiment in red and it would be perfect for the Holidays or even someone's birthday.

Make lots and give them away.....Lynda

Saturday, November 8, 2014

Many Merry Stars Simply Created Wreath


 I had the opportunity to meet Rich Jutkins Marketing Manager for Stampin' Up and one of the things I requested is that the brochures show everything- and I mean EVERYTHING- that the kit has in it - so people can see what a great value these kits are.  Some companies put every dinkie piece the kit has in one layer but SU shows only representative pieces only so it's hard to see everything that it contains.  There are usually so much SU kits contain, it would be hard to show each piece but maybe they can show that there are multiple sheets by layering even....   The Many Merry Stars kit was a good example of that- I could not tell from the cover of the holiday supplement or the picture of the kit all that it contains. 

 It makes 26 - 3D stars in all different sizes with one gigantic one that stands tall on its own.  The idea of the wreath is from Elizabeth Price, one of Stampin' Up's past Artisans and I think it came out spectacularly.

It took a few hours of TV watching to put together the stars- How to put it together instructions.

My only recommendation is that you burnish the boxes where it seals well so it stays secure.  I did use glue gun on some of them to really make a tight box.    I bought an 18" round chipboard wreath from a local craft store with a  coupon for a few bucks.  I used liquid multi-mono adhesive, glue dots and lots of hot glue for this.                          This is how it looks from the side to show you the 3D aspect of it.                         
T
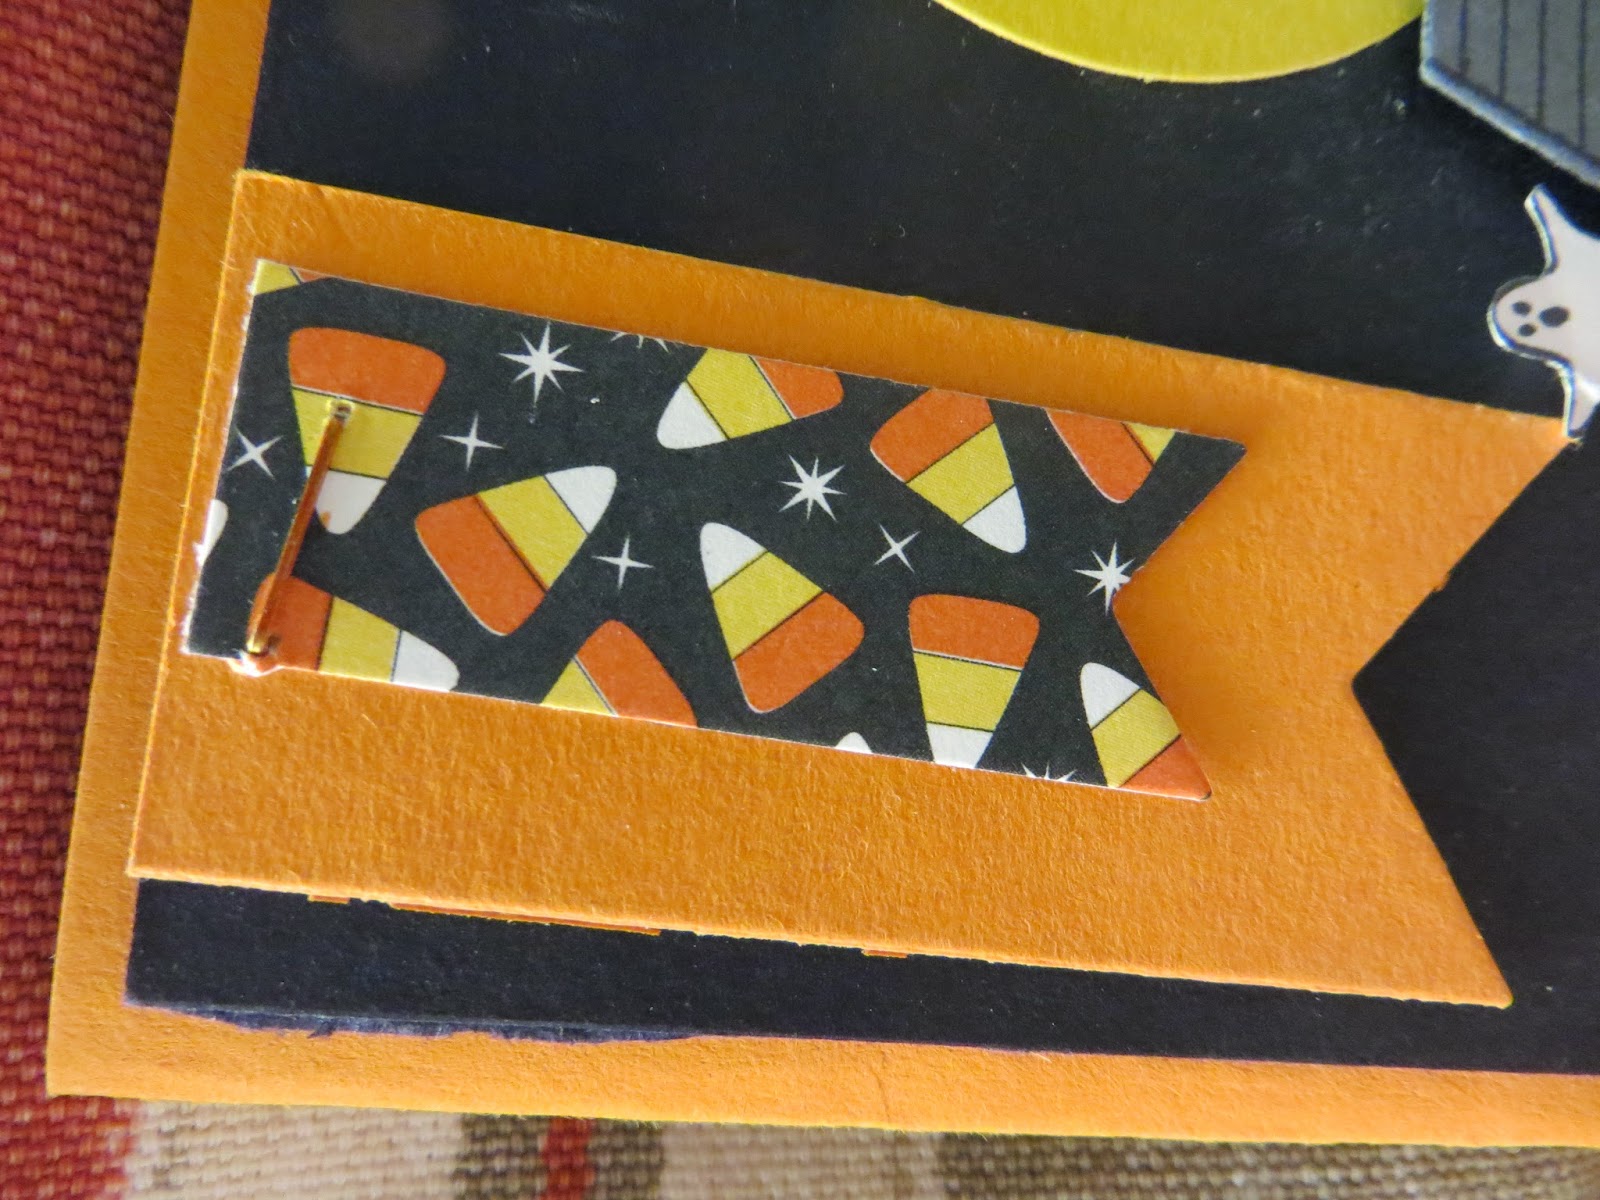
 These are some details of the wreath- and it comes with EVERYTHING you see- the bows, the newsprint stars all diecut, a whole pack of wooden stars, silver sequins, the banner, the words- there was another  sheet of glitter words and stars that I didn't even touch to make this, baker's twine. The only thing on the wreath that did not come with the kit is the stamping I did on two of the craft boxes with the Many Merry Stars stampset using the white ink (You should stamp the boxes before assembly  however) and the words stamped in red- Joy, Noel and Shine from the same set.


This is the detail on the right side of the wreath.
I would suggest that you lay the 5 biggest boxes around the wreath and secure that and then work the other boxes around them. Once I figured out where the boxes should go then, I added the decoration on top using the liquid glue and glue dots to adhere the wooden snowflakes and the sequins.  It is hanging in my living room mantel and with the light shining on it, it is simply stunning.


More details of how the box is decorated.... now to figure out what to do with all the goodies left over!

Mind you, I am not complaining!
Thank you Stampin' Up for such great products and great value to boot.  Since they are not boasting about it, I figured I should!

Enjoy.
Lynda

Friday, November 7, 2014

Seattle Seahawks Defined.

  I wanted to make a birthday card for my father in law who moved to live closer to us from Seattle.  My in-laws are die hard Seahawk fans and we got them a superbowl shirt from their last win and wanted to make a card to match.

Their logo has this neon green color -so I used Green Galore (retired SU) and matched it with Night of Navy.

They also have this a pattern on the sides of their uniform, perfect for our Chevron border punch. 
The sentiment is from Four You set stamped with versamark and heat embossed with Silver EP.

I downloaded the image from online, and used a pencil to draw it on paper and used the undefined stamp carving kit to carve out the image.

I stamped it three times using the versamark and embossed it clear to create a subtle image.

Go Seahawks!

Wednesday, November 5, 2014

A little thanks pumpkin box


This would be a cute little favor box or a placecard for Thanksgiving.
This uses a 6x6 piece of pumpkin pie CS and the box maker.  Wrap a little strip of Color me Autumn DSP - I love the Indian corn of this one.  I then slippe it off the box.I then took the Old Olive Two Tone Trim and stapled it across the top, then I pushed the loop to the other side to staple the other side.
I then untwisted the trim  but leaving the center intact like a stem.   I diecut the lttle leaf from the Fun Fall Framelit Dies and stamped the sentiment from Another Thank You photopolymer set.  Because it is clear you can see exactly where you want to put the sentiment on the leaf.  Or you can use the gel pen to write the recipient's name.


Friday, October 31, 2014

Happy Halloween Holiday Home

 Love this house for Halloween.

Basecard is Pumpkin Pie with a layer of basic black on top 3/4 only.  Cut a layer of Eggplant Envy and emboss with large polka dot embossing folder.  Punch Word Window punch on the side as shown and stamp "happy halloween" from Teeny Tiny Wishes set in black through the opening.  Punch a circleusing Daffodil delight CS and stamp the bats in black.


Stamp the  tree with versamark after dusting the black CS with embossing buddy and heat emboss with iridescent ice embossing powder on both sides of the house.  Mount the Elegant Eggplant cardstock as shown and diecut banners from Pumpkin pie and Motley Monsters DSP as shown.  Attach with staple onto the black CS.   Stamp the house on Basic Gray and on Daffodil delight cardstock for the windows.  Add spider webs on the house.  Cut the windows and attach to house- if a little wonky, it makes it more spooky (Margery's idea!)  Diecut and mount the house with dimensionals.
Color the staple with Pumpkin Pie blenderabilities using the sharp pen point tip.
 Stamp the ghost and pumpkins onto white CS and cut out and mount as desired.
 How fun is this?

Sunday, October 26, 2014

October Stampin' Party Projects

This is some of the sampling of the cards we made for the October Stampin' with Lynda.

This was cased from Michele Reynolds (Michelerey at splitcoast).
The base card was Mossy Meadow with expresso layered on top embossed with Woodgrain EF.  We made tags with Angled tap topper with 2" strips of paper then stamped Ornamental PIne in Mossy Meadow then the cone with Expresso.
Scallop Oval punch the Mossy meadow CS and sentiment from Petite Pairs in Expresso then punch with large oval, then mount with dimensionals.

Tie the tag with vanilla seam binding ribbon and tied with the gold baker's twine.
 The final touch is a little 2-way glue gun to highlight the branches, cone for a touch of "snow" with the dazzling diamond glitter (the cheapest way to make any card shine!)
This is another card we made for the month cased from CAR372 on splitcoast.
Used the Fall fest ghost die to cut the whisper white CS then stamped the face on it with basic black. mount the ghosts on punched out black squares and diecut BOO! from Little letters thinlit mounted on pumpkin pie, then layer of basic black on pumpkin pie basecard and easy peasy card for make and take.  Thanks CAR372!

Lynda